Wednesday, December 18, 2019

Slot Cars - The portable table evolution

This part of my slot car journey started out as just a little side project with my Dad during one of his visits to Japan.  Both of us enjoy making things and so we thought it would be good to make a little practice track together.  So over the course of a day or so we marked out on some MDF a basic track following some geometric lines, nothing fancy.


The "Tron" like corners were quite severe, and after using this for a while I wondered what it would be like to have just flowing curves and if possible to run the path over an area more than once to make use of space.  And so a bit later a drift version was made.


Now I was starting to get into this.  It was fun to think it may even be possible to do a version from a single sheet of MDF that could be a portable table to just setup, plug in and play.  So next came a version based on a local drift track, and for the first time had a built in Arduino based lap timer.  Now you could actually see lap times and mark improvements.


The track was simple but some things bothered me.

1.  For the grass I had used some scenic paper for model railways.  Bits of this got everywhere inside the cars and needed constant cleaning.
2.  The table structure was a little unstable and did not inspire confidence.
3.  It was a single fixed layout that over time would not represent a challenge.

Time for a new version!

This time I started off by getting a folding table base from Costco to be the foundation.  Rated for around 200Kg, this should do the job.

I built a framework around this, sized to accommodate a standard 3 x 6 sheet of MDF that could be swapped in and out as new courses made.  Within this framework I hid a 12v power supply.

Later this was upgraded to a variable power supply to allow for adjustments.

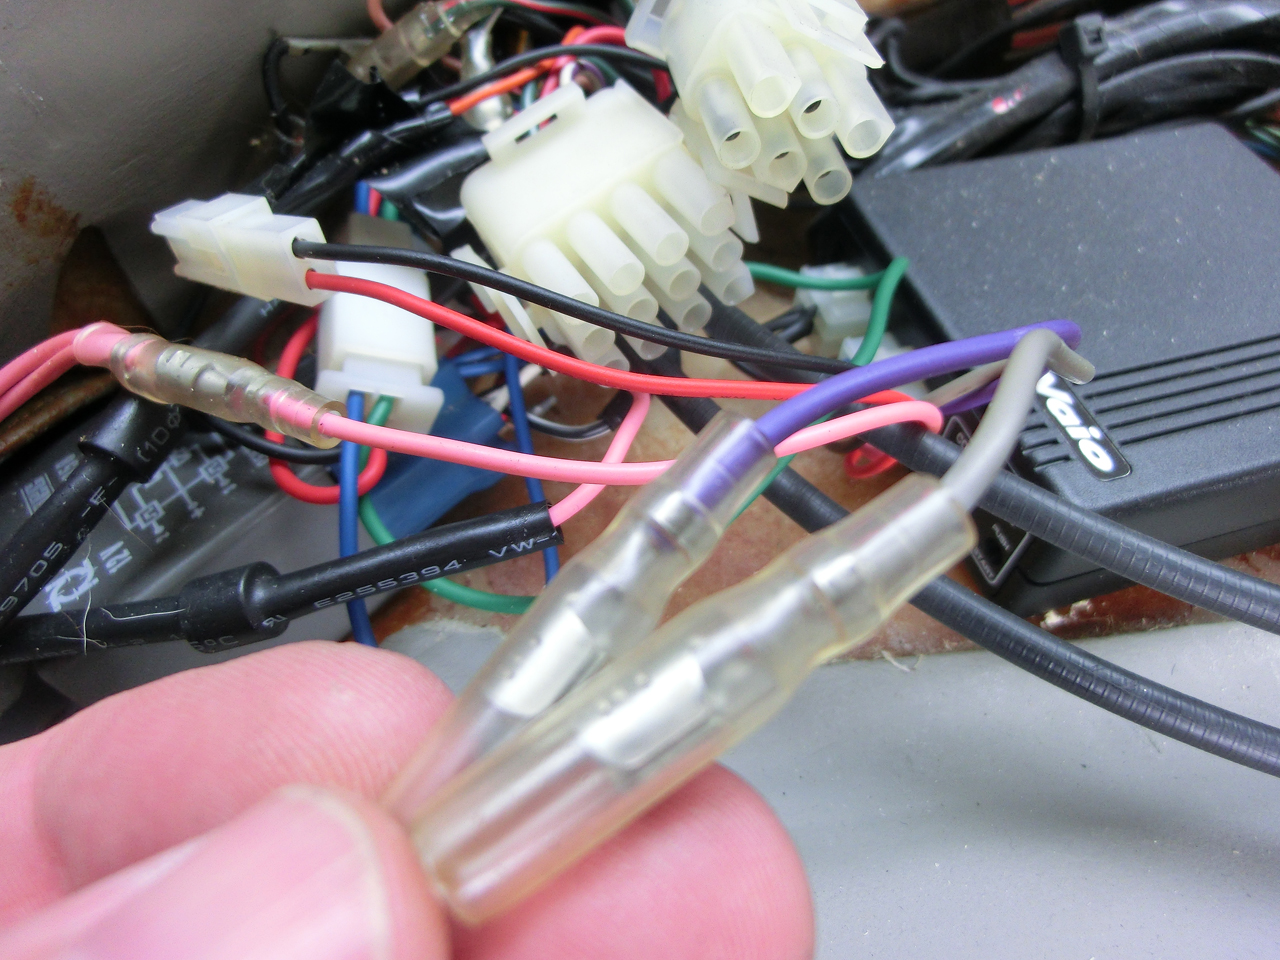
Besides the main track area, I made a safe area to house the timing circuit, a fine voltage adjustment, switch for reversing the track direction, and 2 storage compartments for controllers and cars.


Onto here I made a new painted version of the drift car local track.  This time the track was done with a copper tape.


This worked well but left me wanting some more variety, something with scenery like a rally track.  And so the old track just lifted away from the table and a new piece put in.  Very easy and only thing that changes is the layout.
This track had a lot of work done on the scenery to finish off and was fun to make.


I should have stopped here, but I had made some mistakes in the construction.  Some of the turn radius's were too severe for a Carrera car guide, and also the cross overs were causing a few issues.  And so started the latest version to eliminate these mistakes and add a new dimension.

Note that the latest version has an all new sensor setup for the lap times.  Now all a track needs is an 18mm hole for the sensor to plug straight in to and can be adjusted for depth to get perfect readings every time.

This new track has a guide groove that really feels like a rally stage.  Too fast and it can deslot on a straight, let alone the coblestone bridge.  Issues with the braid sticking though need to be resolved before full landscaping can commence.  At a later date the Arduino is going to be replaced with a Raspberry Pi and a touch screen to polish it all off.


Saturday, December 14, 2019

Slot Cars - Slot Table Woes

Having some issues with the braid on the new track layout for the portable table.  It seems that the ranges of temperature out in the garage causes the braid to come unstuck.  This having been done with the recommended 3M double sided tape too.  Need to research a stronger method to eliminate this.


Sunday, November 24, 2019

Slot Cars - Banpro Starter Cars

Here in Japan the slot car racing scene does not appear to be as big as in other countries.  A reason for this could be the real estate you need in your home to set up a track.  You need a lot of space!  Because the market is not so big, there are not a great deal of places to buy the track or the cars, and both have a price premium due to their limited imports.  Because of this I am always looking at alternatives...

Enter a Japanese company called Banpro.  They make wooden tracks on a large scale, some of which you can find in the Japanese toy store chain Hakuhinkan.  Recently in these stores besides the major brand names for slot cars, a cheaper version has appeared with the stores own name on them.


The cars come in a various colours, and at the time of writing, two body styles - Volkswagen Beetle and Mini Cooper.

The cars have a metal adjustable chassis and a durable vacuum formed body.

Slot car racers may see a similarity here for this chassis and that of the Plafit range of chassis parts.  There is a good reason for that, Banpro and Plafit are one and the same company, with Banpro focus being custom built tracks and Plafit being high quality chassis parts.

Banpro Online Shop

This cheaper car does not offer all the bells and whistles of the main Plafit line, but it does give you some flexibility.


For racing the car can be made very easy to drive with the 4 round adjustable magnets.  You can change the height on these to adjust how strongly the car will hold to the track.  Be careful and ensure on plastic tracks with raised rails such as Scalextric and Carrera that these do not actually touch the track.

You can also adjust the wheelbase from around 60mm, right up to 80mm, giving you a good variety of body styles this can be adapted for.


This car comes with a fairly hefty guide blade to keep it in the slot - it is after all I believe aimed at beginners.  You may want to trim this down or even swap out for a more regular size guide.  Standard slat car guide on left compared with the one provided.


The cars themselves race pretty good out of the box and make a nice durable little car for younger racers.  Just a personal preference, they come mounted quite high for the body, and I just rather see them sitting a little lower.  The white car below sitting at the out of the box height, blue car is after moving the mounting plates.


These sell for under $30 and so I think a really good deal to get a quality adjustable chassis for some project cars and kit bashing.  Recycled a broken LaFerrari into a convertible and used one of these chassis for this.


Wednesday, November 6, 2019

TVR - Dash Removal

Dash Removal
Written by Darren Jones   

Sep 15, 2014 at 03:46 PM

Before starting to remove the entire dash which would stop me running the engine for a while, took one last go at running it and circulating oil etc and getting up to temperature and enjoy the real TVR burble.

That done so time to take a closer look at the mess behind the dash.  Did I mention some wires seem not connecting to anything?


The dashboard itself is just fixed in place by sliding into some slots in the dash base.  So all you really need to do is carefully remove all the meters/dials and lamps.  Just take plenty of photos and label the wires.  The lamps are "special".  You can remove the wires, but to remove the lamps you will need a soldering iron, so in my case, leave til later.

Finally the dash is out and can take a really good look at the condition.  I think the meters were holding alot of the veneer in place it is so bad.

She's now looking a little sad and will get sadder before getting better.

Tuesday, November 5, 2019

TVR - Dash Cover Removal

Dash Cover Removal
Written by Darren Jones   

Sep 15, 2014 at 03:18 PM

So the original dashboard is a little worse for wear and needs replacing.  New walnut dash has arrived from the UK so now need to remove the old one and now is a good time as a lot of the interior trim needs to be removed and recoloured.

The top leather cover of the dashboard is secured by just 3 bolts, but they can be a pain to get to.  There are two on the passenger side.  These are accessed by removing the "glove box" panel - the leather pocket under the dash.  To do this just undo the 2 screws on the top edge and the pocket will then flip down.  Now will have access to two 10mm nuts.  One in the horizontal orientation and one vertical....easy.

The drivers side single retaining bolt is a little tougher.  This one is in the corner of the dash close to the window upright.  To access this you need to get upside down in the drivers foot-well with a torch and spot it.  Once you see it, then access is not so bad, it's finding it that takes the time.

Once all 3 nuts are off the bolts you'd think it was straight forward to remove, but no.  The leather from the dash top and the leather of the window surround are probably a little fused from many years of leather cleaners and other chemicals.  Gently tease them apart to prevent damage, working from the passenger side first.  The passenger side should free up and then pivot on the remaining drivers side bolt, and then you get another gift from TVR.....the bolt is way too long to free from the body easily.  You will need to very carefully force the pieces apart to remove it.  First thing you should then do is grind that bolt down to a good size ready for the eventual refit.

Dash top off you can see the wonderful rats nest waiting for your attention.


This extends all the way across to the passenger side.  Take lots of photos to detail what plugs in where and what doesn't plug in anywhere.

Can see the cracks in the dash veneer are a little more than cracks.

TVR - Passenger Seat

Passenger Seat
Written by Darren Jones   

Sep 15, 2014 at 11:48 PM

Passenger seat was stripped down, the frame sanded and treated for rust and then repainted.  Recolouring the seat was pretty much the same process as the panels, although the "satin" finish is not a great match to the door cards and will probably redo the finish.  For now though is refitted to the car.

Monday, November 4, 2019

TVR - Passenger Door Card

Passenger Door Card
Written by Darren Jones   

Sep 16, 2014 at 08:37 AM

Slowly but surely getting there.  Second door card completed, pretty much the same as the drivers side door card but without the wires to deal with.

Getting there.


Finished the day by removing the passenger seat and breaking it down ready to recolour.

TVR - Drivers Door Card Retrim

Drivers Door Card Retrim
Written by Darren Jones   
Aug 10, 2014 at 08:25 PM


Now that I've done the smallest patch of leather on the car, it's time to take the plunge and do a larger section.  So off comes that door card - made easier by fitting wing-nuts previously.  The door card is in 2 pieces, which is handy because I'm doing a two colour leather interior.  Satin black with satin stone highlights.

Method is pretty much exactly the same as with the small test piece.  First you remove the protective coating on top of the existing leather .  Then clean it up, spray with the new colour and then fix in place with a finisher.  The only difference this time is that the spray bottles supplied are great for small work, just gets a little tedious when moving onto a larger piece of leather.  So upgraded to a proper compressor and spay gun.  Much quicker!

Here is the door card in original state with the grey gloss finish leather.


And here it is finished with the re-colour.  Only thing pending is a new cigar lighter as the original kinda broke on removal.


Sunday, November 3, 2019

TVR - Re-colouring the leather

Re-colouring the leather
Written by Darren Jones   
Jul 15, 2014 at 02:57 PM

So the car is now off the road for a while.  The shakken has expired and won't be renewed until I've rebuilt to car to my liking.  However this is going to cost some money and have some waiting time as various parts are found and shipped to be fitted.  First target will be a cooling system upgrade, but while I'm waiting on some prices and availability, will start on the interior.

Am not a fan of my dull grey interior.  Love the leather and wood trim, just the colour does not do much for me and there are better colour combinations out there.  So over the next few months I will be doing a re-trim of the interior.  The first step is to do a test and see if I can handle this myself.

Step 1 is get the smallest piece of leather trim off the car possible.


Next is to carefully follow each of the instructions in the small leather colour kit from Furniture Clinic
Then after about a day of work with various drying times....tada!!!!

Very easy and a good quality finish, even if I do say so myself.  The kit comes complete with all the cleaners, preparation, colourants, finishers, and spray kit you need to do the job.  The only difference in the kit I received to the one the folks in the UK would receive, is I do not get a can of gas for the spray due to postage restrictions.  Not an issue though as I have a mini compressor for modelling that works just as good if not better.


Saturday, November 2, 2019

TVR - Last days of the Shaken

Last days of the Shaken
Written by Darren Jones   

Jul 06, 2014 at 02:28 AM

The current Shaken expires on July 11th and won't get renewed this year.  Instead am taking the car off the road to start a proper refresh/rebuild.  Making the most of the last few days of driving for a while.

And not missing a chance to cruise with my wingman...


Friday, November 1, 2019

TVR - Window Maintenance

A little job I'd been putting off after reading how difficult it could be - mention of using child labour to perform the task had been heard.  It is to remove the door cards to get to the window mechanism to clean it up and lubricate it to improve the speed of the mechanism.

First thing to note is there are no visible screws to undo and remove it.


That's because TVR have been clever/cruel.  There are actually 3 screws hidden under the speaker mesh.  You start by prying the mesh off, undoing these three screws, and then remove the speaker.  You are left with a hole in the door and it is through here you must put your arm to undo all the retaining nuts from the inside of the door.  Window must be up, sit with your back to the hinges and then James Heriot to undo the nuts.  There are 4 in all, locations as shown below. And also 1 screw behind the ashtray that just presses out.


Door card is in 2 pieces and once the first piece lifts off you will see the 4 screws at the top holding the second piece.


This then lifts off giving you access to the mechanism.


Door motor looks good.


As do the window tracks.


So all that needed to be done was spray with a silicone oil - normal oil will perish the rubber.  And then refit.  Only change done during the refitting was to replace the standard fixing nuts with some wing-nuts making for easier work in future - it's really not fun trying to use a spanner in that space.

TVR - ACT Exhaust

ACT Exhaust
Written by Darren Jones   
Mar 21, 2014 at 09:03 AM

The big new shiny thing I've been waiting for arrived this week.  A new Cherry Bomb performance system from ACT.


Well there was nothing really else to do except fit it and start her up.  Ooooh a V8 burble...

Thursday, October 31, 2019

TVR - Cleaning Up 2

Cleaning Up 2
Written by Darren Jones   
Mar 16, 2014 at 03:52 PM

Still waiting for the new exhaust system, so just another weekend with cleaning chores on the car.  The more I'm cleaning it up the more I suspect all the layers of dirt and grime have actually protected the chassis from rust.  Considering the cars reputation, I've yet to find any real rust spots, let alone any type of serious rot.  Fingers crossed and hope this continues.
Rear left side before.


And after.


While under the car there was an unwelcome oil pool.


The source looks to be working its way from the seal around the oil sump.  Another job on the to do list.


Other than that, did a little photoshop to see what the car would be like with darker wheels and a little lowered.  Something for next year....


Wednesday, October 30, 2019

TVR - Cleaning Up

Cleaning Up
Written by Darren Jones   
Mar 03, 2014 at 03:22 PM

So currently am waiting on some new parts to get delivered before continuing with putting the car back together.  So one thing I am waiting on to come from the UK is an ACT Cherry Bomb exhaust system.  Going to take a while for it to get here as the nice chaps at ACT are modifying it for better transport to Japan and easier assembly.  Still no need to put the old exhaust back on at this point, so released the last couple of bolts and removed.  Still all in very good shape, just a couple of scratches, but a keeper for Shaken tests every 2 years.

Cleaned up, protected and ready to store up in the garage roof.


Next part of an ongoing job to clean up the chassis as best I can now.  Later am considering a body off restore and do the job properly, for now just cleaning where I can and see if the cleaning shows up any immediate faults.
14+ years of dust and grim to clear off.


Improving bit by bit.


One thing that did arrive this week was the diagnostic cable and a copy of Roverguage software.  I can't use fully until the engine is running, but did give the chance to connect it up and make sure it works.


All looking good, and can check for any existing error codes.


OK there was one, I cleared it for now but may need to check that resistor if it comes back - a simple resistor that switches the car to different fuel maps.